Cart
0
Press-on nails have quietly become the smartest beauty shortcut in India. A well-made set, applied properly, gives you a salon-finish manicure in fifteen minutes at your dining table — and it stays flawless for two weeks or more. The catch is in those two words: applied properly. The difference between a set that pops off while washing dishes on day two and a set that survives a wedding weekend, office deadlines, and a Goa trip is almost entirely technique. The nails themselves rarely fail; the application does.
This guide covers everything: what to do before the glue comes out, how to size each finger correctly, the glue technique manicurists use, the first-hour rules that decide your wear time, day-by-day aftercare, the mistakes that quietly ruin most sets, and how to remove everything without harming your natural nails. Bookmark it — your second application will take half the time of your first.
Why application technique matters more than the nails
Nail glue is a cyanoacrylate adhesive — chemically a cousin of surgical glue. It forms an extremely strong bond, but only between two clean, dry, slightly textured surfaces. Skin oil, moisturiser residue, cuticle skin, and water are its enemies. When a press-on lifts early, the cause is almost always one of those four things sitting between the glue and your nail plate — not weak glue, and not a bad nail.
That's good news. It means wear time is in your control. Follow the prep and curing rules below and a quality press-on set will routinely cross the two-week mark.
What you need before you start
Every NailZen set ships with the essentials, but lay everything out before you begin so you're not hunting mid-application with one nail half-glued:
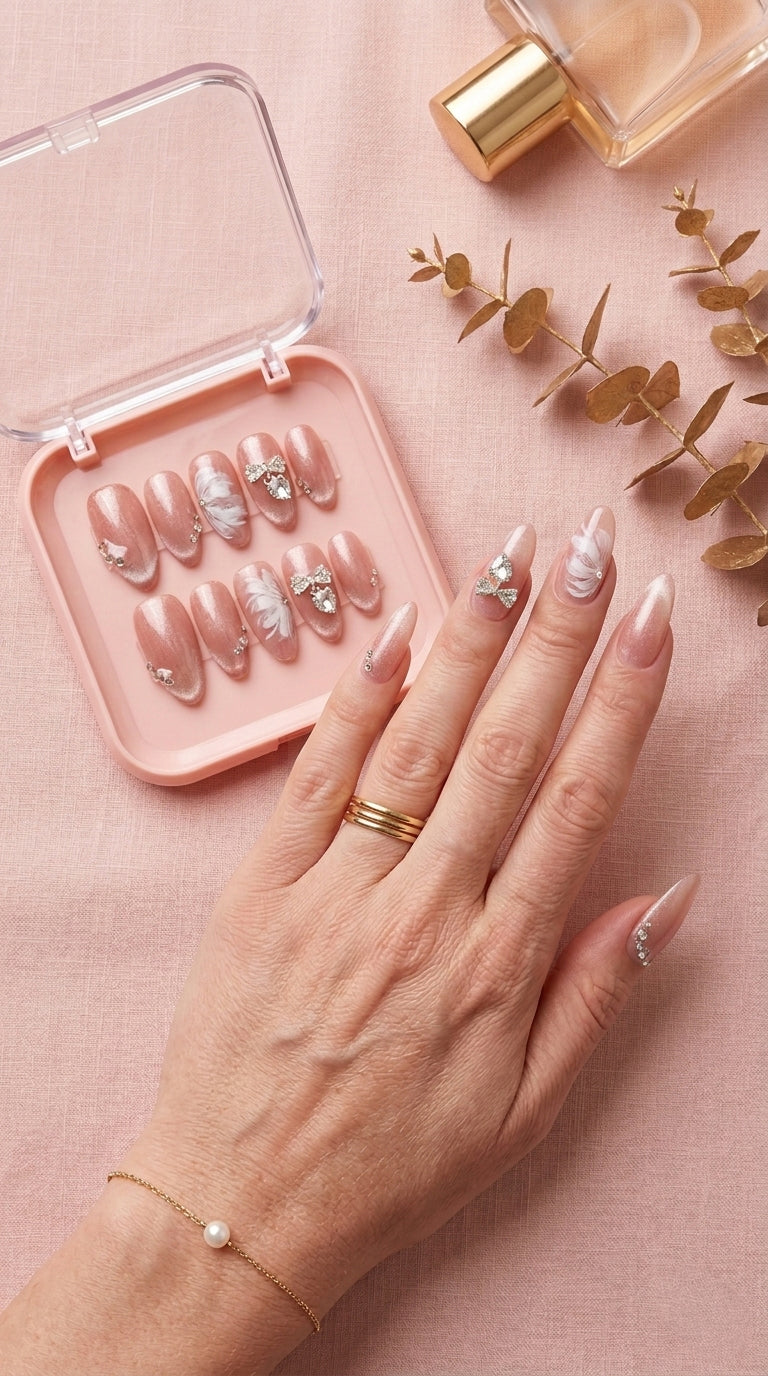
- Your press-on set — all sizes laid out in the tray
- Nail glue (included) — or adhesive tabs if you want 1–3 day wear with effortless removal
- Cuticle pusher — wood or steel, either works
- Nail file and buffer
- Alcohol wipe (included in the prep kit) — this is the single most underrated item in the box
- Nail polish remover — only if you're wearing old polish that needs to come off first
Set aside fifteen unhurried minutes. Applying press-ons in a rush, five minutes before leaving the house, is the number one reason first-timers think press-ons "don't work" for them. Do it the night before an event instead — more on why later.
Step 1: Size every nail before any glue comes out
Sizing is where most early failures are born, so give it two full minutes. Lay each press-on against the natural nail it's meant for. The right size covers your nail plate edge to edge — sidewall to sidewall — without touching the skin on either side.
If you're between sizes, go smaller
A press-on that's slightly narrow bonds completely to nail plate and holds. A press-on that's slightly wide rests its edges on your skin — and skin flexes, sheds, and produces oil. Those edges start lifting from day one, water creeps under, and the set is done by day four. Smaller wins, every time.
Lay all ten out in order
Once each finger has its match, arrange the nails in finger order on the table — pinky to thumb, left hand then right. Application goes twice as fast when you're not re-checking sizes with glue drying on your fingertip. One more tip: do your dominant hand first, while your other hand is still completely steady.
Step 2: Prep like a manicurist — this is 80% of your wear time
Salon manicures last because of prep, not product. Replicate it in three moves:
Push back your cuticles
Gently push the cuticle skin back with the pusher — never cut it. Glue bonding to cuticle skin instead of nail plate is the most common cause of lifting at the base of the nail. The cuticle keeps growing and shedding, taking your press-on's grip with it. Thirty seconds per hand here buys you days of wear.
Buff the shine off
Lightly buff the surface of each natural nail — four or five passes, just enough to take the glossy shine off. You are not thinning your nail; you're creating microscopic texture for the glue to grip. A surface with a little tooth bonds dramatically better than a glassy one.
Dehydrate and don't touch
Wipe every nail with the alcohol pad and then — this matters more than anything — do not touch your nails again. Not to brush hair off your face, not to adjust your phone. One fingertip swipe redeposits enough oil to halve the bond strength on that nail. If you slip, re-wipe.
Step 3: The glue technique
Here is the exact sequence, per nail:
- Apply a thin layer of glue across your natural nail — a drop spread thin, not a blob.
- Add a small dot to the inside of the press-on, near the cuticle end.
- Place the press-on at your cuticle line first, angled slightly, then lower it down towards the free edge — like closing a lid. This pushes air out ahead of the bond instead of trapping it.
- Press firmly for a full 20–30 seconds. Count it out. No wiggling, no early release.
- Squeeze the sides of the nail briefly so the sidewalls seat fully.
Why thin glue? Excess glue does three bad things: it oozes onto your skin (creating a lift point), it stays liquid longer under the nail (creating air pockets), and it makes removal harder. With cyanoacrylate, less is genuinely stronger.
Glue or adhesive tabs?
Tabs are brilliant for a single evening — a sangeet, a shoot, a date — because removal takes seconds and your set survives perfectly intact for re-wear. Expect 1–3 days of hold. Glue is for real wear: 10–14 days when applied on well-prepped nails. Many NailZen customers keep both in the drawer and choose per occasion.
Step 4: Shape, file, seal
Once all ten are on, press along every edge one more time — cuticle, sidewalls, tip. If you want a shorter length or a softer shape, file now, moving in one direction rather than sawing back and forth (sawing creates micro-cracks in the tip). A glass file gives the cleanest edge on press-ons.
The first hour decides everything
Glue reaches handling strength in seconds but takes several hours to fully cure. Water that reaches a half-cured bond quietly sabotages it — the set looks fine, then lifts "for no reason" on day three. The reason was that first-hour hand wash.
- No water for at least one hour — ideally two.
- Apply at night when you can. The glue cures fully while you sleep, with zero water exposure — it's the single easiest wear-time hack there is.
- Skip the hot shower immediately after application. Heat plus steam is the harshest first test you could give a fresh bond.
Aftercare: small habits, long wear
None of these take effort. Together they're the difference between one week and two-plus:
- Gloves for housework. Long hot-water soaks and harsh cleaning agents age any manicure. Dishes and bathroom cleaning are glove jobs.
- Fingertips, not nails. Opening cans, peeling stickers, prying lids — each one is a tiny crowbar at the glue line. Use the pads of your fingers.
- Cuticle oil around the edges every two or three days. It keeps the seam flexible so it doesn't crack and catch on fabric. Keep oil away from under the nail.
- The morning press. Each day, give every nail a firm two-second press. It re-seats any micro-lifting before water can find it.
- Fix lifts immediately. A lifting edge caught early is a 30-second fix: dry the nail, add a tiny dot of glue, press for 20 seconds. Ignored, it's a lost nail by evening.
The five mistakes that ruin most sets
- Skipping the alcohol wipe. Oil is invisible; its effect on glue is not.
- Choosing the bigger size. Edges on skin always lift.
- Too much glue. Blobs mean air pockets, skin contact, and painful removal.
- Water in the first hour. The silent killer — the failure shows up days later.
- Peeling the set off. This is the only way press-ons damage natural nails. Removal has its own rules — below.
Removing press-ons without damage
Never peel, pry, or bite a press-on off. The glue bond is stronger than the top layers of your natural nail — force it and the nail plate comes with it. Instead:
- Fill a bowl with warm soapy water and a few drops of oil (coconut, olive, or cuticle oil — anything works).
- Soak your fingertips for 10–15 minutes. Be patient; the oil and warmth break the bond chemically and physically.
- Ease each nail off from the sides with gentle rocking. If one resists, soak it five more minutes — never force it.
- Roll any leftover glue off your natural nail with your thumb or a soft buffer, then massage in oil.
Done this way, your natural nails come out exactly as they went in — no thinning, no white patches, no recovery break. This is the core advantage press-ons hold over gel extensions, so protect it.
Re-wearing your set
Removed with the soak method, a quality press-on survives intact. Clean the old adhesive off the inside, wash and dry the nails, and store them in the original tray away from sunlight. Most NailZen sets give two to three full wears — which quietly doubles or triples the value of every set you buy. Re-application follows exactly the same prep and glue rules as the first time.
Your first-time checklist
- Size all ten nails first — smaller when in doubt
- Push cuticles, buff the shine, alcohol wipe, don't touch
- Thin glue, place at cuticle, lower to tip, press 30 seconds
- No water for an hour — apply at night if you can
- Gloves, fingertips, cuticle oil, morning press
- Soak to remove, never peel
That's the entire craft. Start with the Everyday edit if you want a low-maintenance first set, or go straight to the Statement edit if you have somewhere to be. And if you're planning nails for a wedding week, our bridal guide maps a set to every function.
Frequently asked questions
How long should I press each nail during application?
A full 20–30 seconds of firm, steady pressure per nail. Counting feels long the first time, but early release before the glue grabs is a common cause of air pockets and short wear.
Can I apply press-on nails on short natural nails?
Yes — short natural nails are actually ideal. The press-on needs nail plate to bond to, not length. Even heavily bitten nails can wear press-ons; just be extra careful that the size doesn't overlap skin.
Should I cut my natural nails before applying?
Trim them so they don't extend past the press-on's underside, and keep the free edge short. Long natural nails under a press-on create a flex point that pops the tip loose.
Can I shower, swim, or wash dishes with press-ons?
After the first-hour cure, normal showers are fine. Long soaks, swimming, and hot-water dishwashing shorten wear — wear gloves for chores and expect a swim-heavy holiday to cost a few days of hold.
What if a nail pops off mid-wear?
Keep the nail, wipe both surfaces with alcohol, re-glue with a thin layer, press 30 seconds. A popped nail re-applied properly often outlasts the rest of the set.
Is nail glue safe for my natural nails?
Yes, when removal is done by soaking rather than peeling. The glue itself doesn't damage the nail plate — forced removal does. Follow the soak method above and your nails stay healthy through back-to-back sets.

